HOW TO PHOTOGRAPH FLOWERS (2018)
by Diane Bohlen
Most beginners in photography start with flowers. They stand still and behave while you practice. That is if you are inside or out of the breeze. However, a flower shot is not cop out for an easy picture. A floral photo can be striking, artistic and a moving image. It can be a colourful popping close up, a sad broken rose on a memorial or a wedding bouquet but if your composition, light, settings and gear are wrong it can turn out awful. So lets look at some of these requirements:
COMPOSITION
Subject
Decide what your subject is going to be is the first thing to consider. Maybe it will be an entire garden, a group of flowers, a single flower or textures within the leaves.
Some flowers are better than others to photograph. Some lose detail or bleed colour. Some you don’t think will be any good but turn out a surprise. Take time to choose a flower carefully, make sure it has all its petals and its colour isn’t fading. In saying that though, don’t ignore the dead or dying flower. Sometimes ”the ugly duckling” makes a more interesting shot. It could even tell a story and show emotion.
Remember the rule of thirds and don’t centre the flower. Move it to one side or the other or even cut part of the flower out of the shot.


Find a point of interest/focal point to grab the viewer’s eye. It could be a droplet, an insect, a stamen, a pattern or a shape.


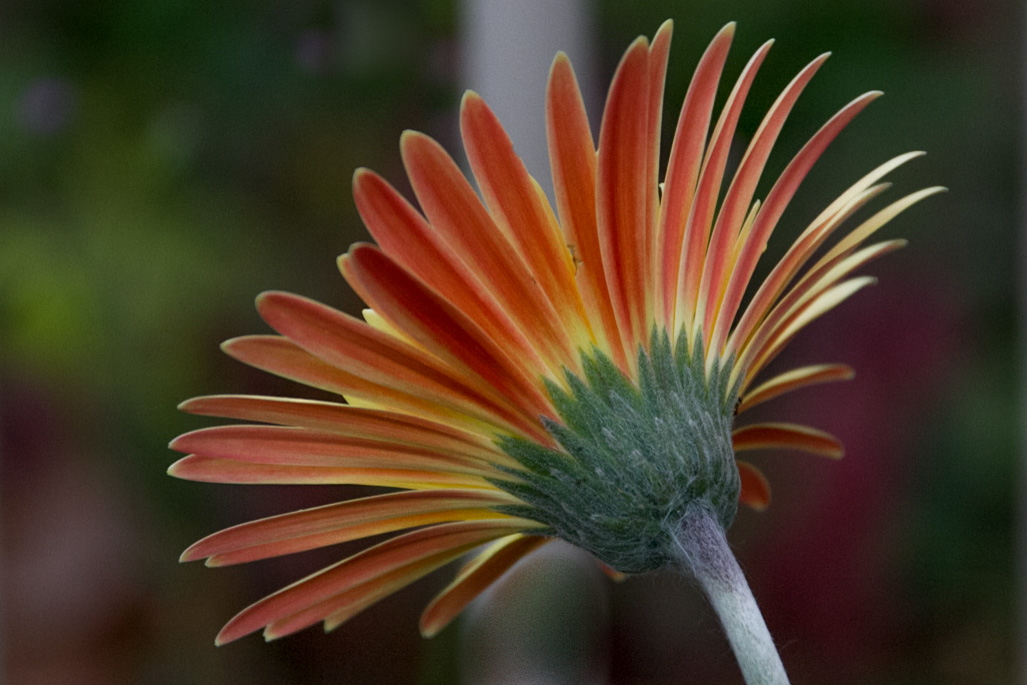
Experiment with orientation. Try landscape and portrait views. Change your point of view. Use different angles, get underneath and shoot up, get above and shoot down, or get behind.

Shoot simple and uncomplicated scenes. The best images are simple and to the point. A bunch of flowers or a crowded garden can be distracting. The viewer has nowhere to rest the eyes. Stick to simple lines and shape. Hone in on one colour.


Avoid distracting backgrounds. Background can make or break an image. Gardens are full of potential distractions like a shed, fence, washing line etc. Decide whether you want to use them to enhance your shot or if you want to remove them. It is best to keep the background uncluttered. Ways you can deal with the background:
Move the objects
Move yourself
Crop them out or fill the frame with the flower by moving in closer or zooming.


Put a coloured card behind.
Use a narrow Depth of Field to blur the background. Use a wide aperture f2.8-f4. Using a zoom as well can enhance the blur.
Try to get the flower faraway from the background, this helps to blur more easily.


Try different lenses and focal lengths.
Usesymmetry andbalance elements in the photo.
Back & White photos of flowers can be very striking too. Give it a try.


Use patterns and shapes
Use leading lines
Go abstract using only part of the flower or blurring the image. Focus through another flower. Position yourself so that there is a flower in front of another and focus on the one at the back making the one in the front blurry.


GEAR
Use a tripodfor photographing flowers. You will get sharper photos, which is most important with close up shots. It will slow you down and give you time to compose a better shot. You will have time to ask yourself:
How will I frame it?
What is the focal point?
What angle will I use?
Which orientation will I use?
How much DOF do I want?
Which flower is the best specimen?
What distractions are in the background?
When using a macro lens or macro setting, or a zoom, it is very easy to get camera shake and out of focus shots. Use a tripod, cable release or timer to get sharp photos.
Joby’s Gorilla Pod for DSLR’s enables you to get down lower than tripod. There are smaller ones for P&S cameras.
LENSES
Lenses are important tools for floral photography. A macro lens creates fascinating close ups of shape, contours, patterns, texture and colour. A wide lens will have you wanting to run through fields of wild flowers.
To get close ups there are a variety of ways:
With a P&S camera use the macro setting, which is usually has a flower icon.


Use a telephoto lens or zoom and zoom in close to the flower. Check in the manual how close you can go. If you go too close the camera will not focus. A long lens with a short minimum focal distance is best.
Use a close up filter.
Use extension tubes between the camera and the lens.
Use a macro lens it will focus on objects close to the lens. Tony Howell recommends a Tamron 100mm. You can get 50mm or 180mm the shorter the length the further away you must be.
FOCUS
There is a general rule that close ups should be pin sharp. However, others say ignore this rule to a certain extent. The focal point of the flower should be pin sharp but other parts can be blurred for effect. That is to get the viewer to keep their eye on the point of interest.
Sharp focus in macro photography is crucial. Even tiny adjustments can have massive implications as the depth of field is so small. In macro photography DOF is a game of millimetres so attention to focusing needs to be worked on.
Identify the point of interest and work hard at getting it as sharp as possible. This can be a real challenge, especially out doors if it is breezy. Using a faster shutter speed can help. Also using a reflector or card to shield the wind helps. Shooting early in the morning before the wind gets up is a good idea too. Take the flower inside will also solve the problem.


Position the sensor parallel to the most important plane of the flower to get a sharp photo. In every photo you only get one geometrical plane of complete sharpness.
See how close you can get to secure a focal lock. Lock (half press shutter button or use lock setting) and repositon for composition.
Most photographers prefer manual focus but auto focus can be used too. With manual focus you can be sure that you are focusing on the point of interest. Auto can get confused about what to focus on.
SETTINGS
For P&S cameras use the macro setting and deactivate the flash.
For Dslr’s and Hybrid cameras use Aperture Priority setting and experiment with how much detail is captured. For crisp centre and blurred petals use f1 – f4.
If you want the whole flower head crisp use f18 – f22.


You may need exposure compensation depending on the light and colour.
Shoot in RAW so all the vivid colours are replicated.
DOF is the key to capturing your perfect floral image. Turning a bland flower into something that stuns. A low f stop will throw the background out of focus and sometimes create bokeh which highlights the flower in the forground.


In a field also blur the background but with a higher f stop to balance the focus across the whole scene. Sometimes DOF, blur and bokeh creates the image more so than the actual subject.
Shutter speed of 1/200 or faster is best for outdoors to cope with the wind. It should freeze the action. You may have to increase the ISO to 200-400 to get a faster shutter speed. However, using a low ISO of 100 is best to avoid noise (grain).
LIGHT
A soft, even light is best for delicate flowers there are no harsh shadows, bright spots or strong contrasts. It is easier to get a good exposure and create texture, colour and detail. Clouds act as a diffuser to give a perfectly balanced light. It is easier to get the right exposure too. You can saturate in post processing to bring out the true colours.


There are exceptions to this rule. A sunlit flower with a shady background can be stunning if you can get the exposure right. Also backlight will make your flowers glow. If you face the sun and the light is shining through the petals it makes a good shot.


However, shooting in direct sunlight can result in too much contrast, burnt out highlights and loss of detail in the shadow parts.
Don’t block the light with your body.
Try to get backlit flowers late in the day.


If you are in bright sunlight use a polarizing filter.
If you need to use a flash use a diffuser/tissue paper or set it for a low flash so that you don’t get sharp contrast.
TIME
The best time of the day to shoot flowers is in the morning when there is less wind and a chance that there may be dew drop, frost or fog to add another dimension to your shot.


Evening is good for those backlit shots.
Compiled by D. Bohlen from articles written by D. Rowse, T. Howel, N. Johnson, S. Berardi, E. Halford, C. Havill, A. Mckimell, A. Renfrey.
No comments:
Post a Comment